Highlight and hide
Hide sensitive information with masks
Masks blur or cover part of the screen, like an email address, an API key or a name, for as long as you need.
A mask hides an area of the recording. Use one for anything that shouldn’t be in the video: emails, keys, names or notifications.
Draw a mask
- Move the playhead to where the mask should start.
- Press M, or click Masking mode in the timeline toolbar.
- Drag on the video over the area to hide.
Masking mode stays on, so you can draw several masks in a row. Press M again or Esc when you’re done.
You can also open the Mask panel and click New mask. In Place mask, drag over the frame to choose the area, then click Save.
Adjust time and place
Each new mask lasts 3 seconds from the playhead. On the timeline, drag its bar to move it, or drag its edges to cover more or less time. Masks that overlap in time go on separate rows. Masks follow the recording, so they stay on the right moment when you trim or split clips.
To change the area, select the mask and drag its box on the video, or drag the corner to resize it. Edit area in the panel opens the frame again so you can redraw it.
Appearance
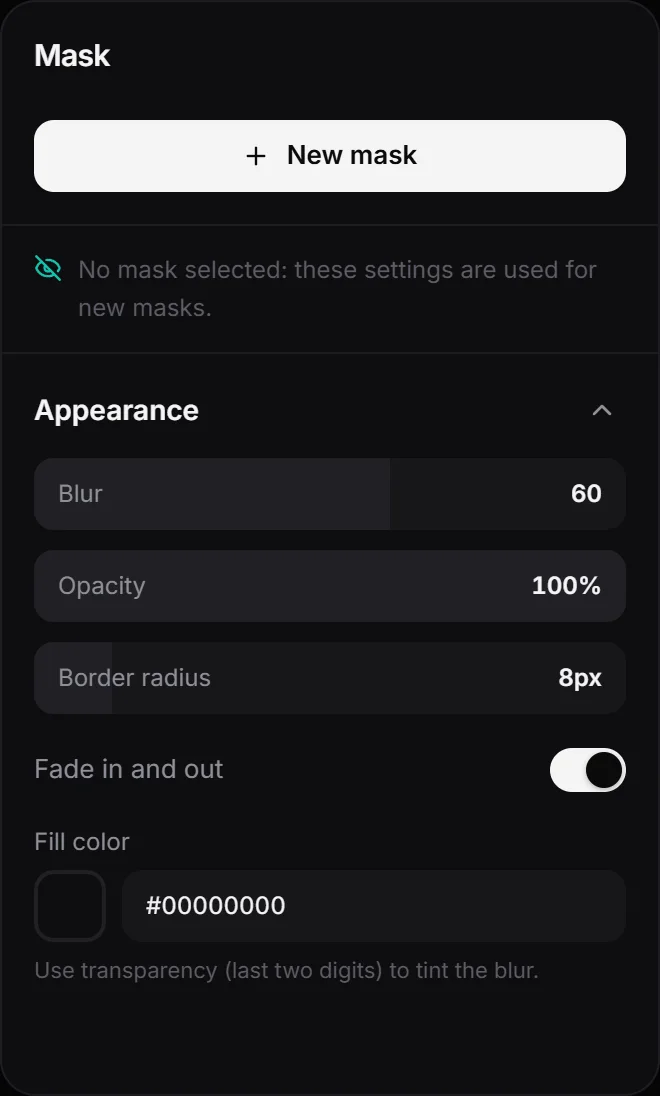
- Blur: how strongly the area is blurred, from 0 to 100.
- Opacity: at 100% the mask hides the area completely. Lower values let the original show through.
- Border radius: rounds the corners.
- Fade in and out: the mask fades in and out instead of popping.
- Fill color: tints the blur. The last two digits of the color are its transparency, so an opaque color covers the area with a solid block.
With no mask selected, these settings are used for new masks. With a mask selected, Set as default saves its settings for the next ones.
Tip: The fade happens just before the mask starts and just after it ends, so the area stays fully covered the whole time the mask is on the timeline.
Next step
Can't find what you need? Write to us