Getting started
Your first video
Record your screen, review what OnScreen prepared for you, and export an MP4. Here's the whole path in three steps.
While you have no projects, OnScreen opens on the Welcome to OnScreen screen. It sums up the three steps: Record, Review and Export.
1. Record
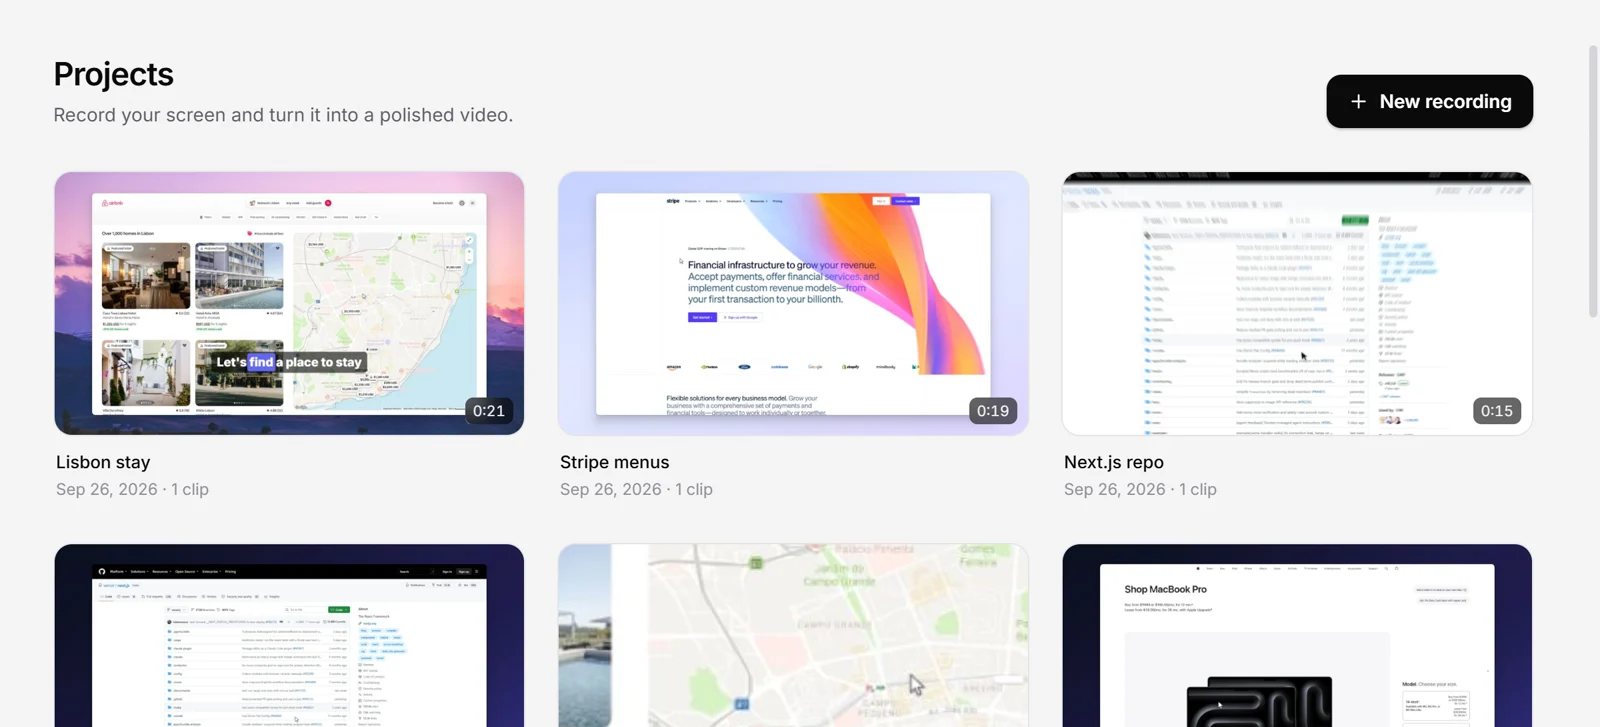
- Click Make my first recording. Once you have projects, the button is New recording.
- The recording bar appears at the bottom of the screen. Choose Display, Window or Area, and turn on your camera and microphone if you want them.
- Click Record. After a short countdown, do what you want to show.
- To finish, click the red stop button on the bar, or press Ctrl + Shift + 2 (on Mac ⌘ + Shift + 2).
Every option is explained in Record your screen.
2. Review
The editor opens with your recording. OnScreen has already added zooms where you clicked and smoothed the cursor. Press Space to play it.
From here you can work on your clips in the timeline, adjust the automatic zooms, add captions or show your keystrokes. There’s no need to save: OnScreen saves the project as you edit, and you’ll find it later under Projects on the home screen.
3. Export
- Click Export at the top right of the editor.
- Choose the Resolution (from 720p to 4K), the Frame rate and the Quality.
- Click Export and choose where to save the MP4.
- When you see Export complete, click Show in folder.
For a vertical video for Reels, TikTok or Shorts, pick 9:16 at the top of the editor before you export. See Formats.
Next step
Record your screen covers every option on the recording bar.
Can't find what you need? Write to us